5.0 Excellent
Safari Photography Tips: A Practical Tanzania Guide
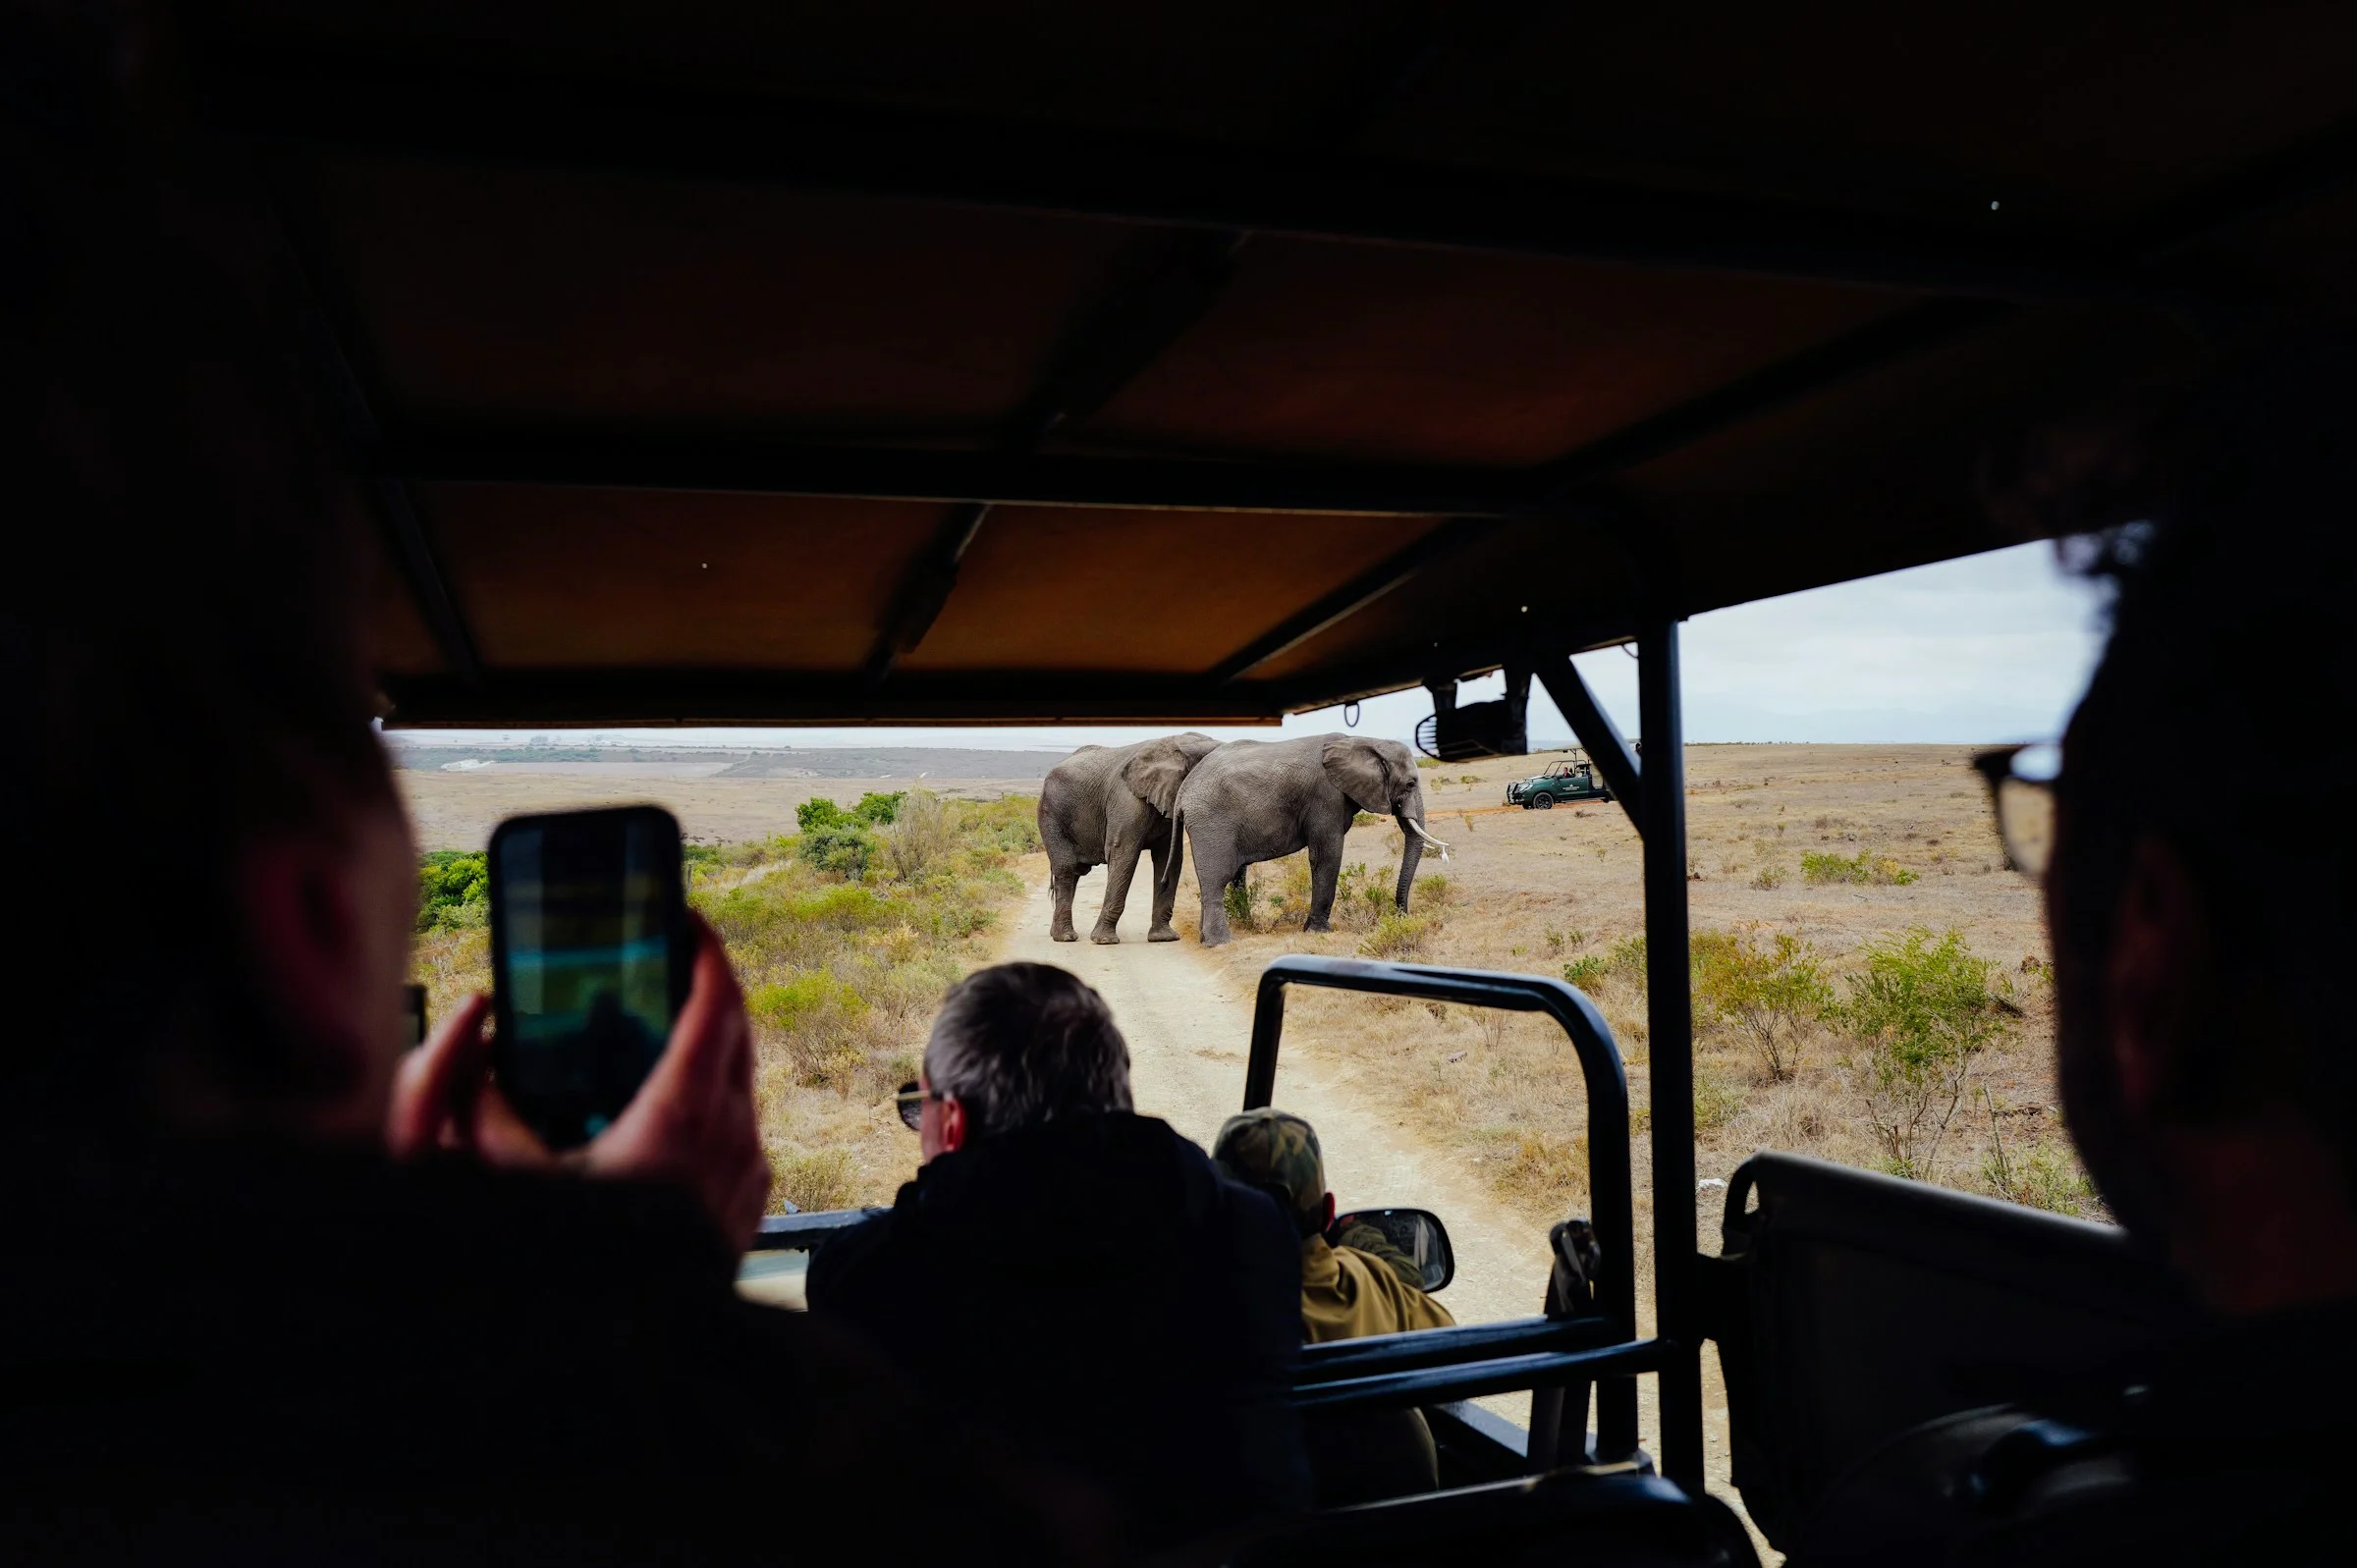
These safari photography tips will help you bring home sharper, more thoughtful photos from Tanzania. Start with three habits: keep your camera ready, watch the light, and give wildlife space. You do not need the most costly kit to tell a strong story.
This guide covers cameras and phones, sample settings, vehicle technique, trip planning, and 20 FAQs. Use the settings as starting points. Light, movement, lens length, and your own skill will shape the best choice at each sighting.
Which safari photography tips matter most?
Learn your controls before the trip, focus with care, and avoid rushing. A clear photo of a simple moment often works better than a blurred shot of rare action.
Practise changing shutter speed without looking through menus.
Keep a charged battery and spare card within reach.
Check focus on the animal's eye when it is visible.
Use short bursts for action, then review a sample.
Watch the frame edges for cut-off feet, tails, and horns.
Listen to your guide and never push wildlife for a shot.
Make a short list of scenes you hope to capture. Include a wide view, a close detail, and an animal in its habitat. This gives your album range without turning the safari into a race.
What camera and lens should you bring?
Bring gear you can carry, control, and use for a full day. A familiar camera is often more useful than a new body with features you have not learned.
Is a long lens essential?
A telephoto lens helps with distant wildlife, but no single focal length suits every scene. A zoom lets you change the framing when an animal moves. A wider lens or phone can handle landscapes and camp scenes.
For example, a zoom reaching roughly 300–400mm can cover many mammal encounters. More reach may help with small birds or distant subjects. These are examples, not a shopping requirement. Sensor size, lens weight, and viewing distance all matter.
Do not use lens reach as a reason to move closer. If the subject is too far away, make an environmental image or enjoy the view through binoculars.
Should you rent equipment?
Renting may suit a specialist trip, but test the kit before departure. Check the lens mount, balance, battery type, and bag space. Practise tracking moving subjects at home.
Check rental terms, damage cover, and return timing. A heavy lens can be tiring in a vehicle. Avoid choosing it only because it offers the longest focal length.
What belongs in your camera bag?
Pack the small items that keep a shoot going. A missing charger can matter more than a second lens.
Your main camera, chosen lenses, and lens hoods.
Charged spare batteries and the correct charger.
Several reliable memory cards and a card reader.
A soft cloth, hand blower, and rain cover.
A secure strap and a padded bag that closes fully.
A backup device or drive if you plan to copy files.
Check your airline's current baggage and battery rules. Small safari flights may have strict weight and bag limits. Confirm the total allowance for your actual booking before packing.
Which safari photography tips help with camera settings?
Choose a shutter speed that suits the movement, then check the result. The examples below assume handheld or vehicle-supported still photos. They are starting points, not fixed rules.
Resting mammal: try around 1/500 second, then adjust for lens length and camera shake.
Walking animal: start near 1/1000 second when light allows.
Running animal: try 1/2000 second or faster for sharp action.
Bird in flight: start around 1/2000–1/3200 second. Fast wingbeats may need more.
Still landscape: use a lower ISO and enough depth of field, while keeping the camera steady.
Light may not support the speed you want. Raising ISO can help retain a fast shutter. Some visible grain is often preferable to lost detail from motion blur.
Which autofocus mode helps with moving animals?
Continuous autofocus tracks changing distance while you follow a subject. Camera brands may call it AF-C or Servo AF. Use a tracking area that you can place on the animal.
Animal-eye detection can help on supported cameras, but check where it locks. Grass, branches, and another animal can draw focus away. Switch to a smaller focus area if automatic detection keeps choosing the wrong subject.
How should you choose aperture and ISO?
A wider aperture lets in more light but gives less depth of field. That can suit one face against a soft background. A group at different distances may need a smaller aperture.
Auto ISO can simplify changing light. Test its limits on your own camera before travel. Learn how exposure compensation works in your chosen mode; the effect can depend on the camera and settings.
Should you shoot RAW or JPEG?
RAW gives more room to adjust exposure and white balance later. It also uses more storage and needs suitable editing tools. JPEG is convenient when you want simpler handling.
RAW plus JPEG can offer both, but fills cards faster. Pick a format you can manage throughout the trip. These safari photography tips are useful only if your daily workflow stays practical.
Which safari photography tips reduce vehicle shake?
Wait for the vehicle to stop and support your camera safely. Even a fast shutter can struggle with movement, poor focus, or heat shimmer.
Ask the guide whether the engine can be switched off at a suitable stop. Keep elbows supported and avoid leaning hard on a surface that others are moving. A beanbag can help on an approved resting point.
Do not clamp equipment to a vehicle without permission. Keep straps clear of doors and other guests. Never reach out or leave the vehicle to gain a lower angle unless the guide explicitly allows it at a safe location.
Why are distant shots sometimes soft?
Hot air can distort the view across open ground. A longer lens magnifies that distortion as well as the animal. More zoom will not always create more detail.
Try a closer subject at a safe distance, a wider composition, or cooler light later. If the eyes are sharp but legs blur, subject motion may be the issue. If nothing is sharp, check shake, focus, and atmospheric conditions.
Which safari photography tips help in changing light?
Look at the direction and softness of the light before changing settings. Early and late light often creates gentle tones. Clouds can also make flattering light during the day.
What if the sun is harsh?
Use shade, bold shapes, or tight details rather than forcing a soft portrait. Watch for bright patches on pale fur. Check the histogram or highlight warning if your camera offers one.
A histogram shows how tones are spread from dark to bright. A pile-up at the bright edge may indicate lost highlights. Review the subject as well: not every bright sky needs full detail.
Can backlight improve a photo?
Yes. Light from behind can outline fur, dust, or grass. It can also fool the meter and leave a face too dark. Decide whether you want a silhouette or visible detail, then adjust.
Take a test frame when there is time. Never stare at the sun through an optical viewfinder or point a long lens at it carelessly. Follow the camera maker's safety guidance.
Which safari photography tips improve composition?
Show the viewer what caught your attention. One clear subject and a calm background often work better than a frame full of competing details.
Leave room in the direction the animal looks or moves.
Check whether branches appear to grow from its head.
Keep a horizon from cutting awkwardly through the face.
Try both a wide scene and a closer portrait.
Wait for a gesture: a glance, raised ear, or shared moment.
Vary horizontal and vertical frames when the scene allows.
You do not have to fill the frame with the animal. A small giraffe beneath a large sky can show scale. A trail through grass can suggest a journey. The best safari photography tips help you notice, not just zoom.
What safari photography tips work for phones?
Use your phone for scenes that match its strengths. Landscapes, people who agree to be photographed, camp details, and nearby wildlife can work well. Distant small animals are harder.
Clean the lens before a drive. Hold the phone with both hands and tap your subject to set focus. Use the phone's native lens choices where possible rather than extreme digital zoom.
Try a short burst for movement. Check whether portrait mode blurs fine whiskers or ears incorrectly. Night mode often combines several frames, so it may blur moving wildlife. Use it with care rather than assuming it improves every dark scene.
Leave space for a modest crop later. Avoid holding the phone outside the vehicle for an angle. Secure it, stay within your guide's instructions, and put it down sometimes to enjoy the sighting.
How do you protect gear and back up photos?
Keep dust out and create more than one copy of your best memories. A simple nightly routine is easier to maintain than a complex system.
How should you handle dust and rain?
Close the bag during dusty drives. Avoid lens changes while dust is blowing. If a change is needed, use a sheltered spot and keep the camera opening exposed for as little time as possible.
Use a rain cover before gear gets wet. Weather sealing is not the same as being waterproof. Follow the maker's cleaning advice and avoid rubbing grit into glass.
What is a useful evening routine?
Charge, copy, check, and prepare. Do these tasks before you are too tired to notice a missing file or flat battery.
Copy the day's files to a separate device when possible.
Open a few files to check that the copy works.
Keep the card until you have verified independent backups.
Store backup copies apart from the main camera bag.
Charge batteries and reset settings for the next drive.
Do not depend on lodge internet for a large upload. Label cards clearly and avoid deleting whole groups in haste. One useful addition to your safari photography tips checklist is simply: check tomorrow's card tonight.
Where should you plan a photo safari in Tanzania?
Choose locations for the story you want and the time you have. No park can promise a particular animal, behaviour, or light.
Serengeti National Park: consider open landscapes, big cats, and seasonal herd movements.
Ngorongoro Crater: plan for changing habitats and distant as well as close views.
Tarangire National Park: explore elephants, baobabs, and wildlife in the landscape.
Lake Manyara National Park: allow for forest shade and changing lake conditions.
Do not build a whole trip around one tree-climbing lion or rhino photograph. Add time to observe ordinary scenes well. For a migration focus, use our migration planning guide and confirm camp location for your dates.
How should you plan your days?
Stay longer in fewer places. Moving camp each day can take time away from good light and patient observation.
A useful plan might combine two nights in one park with three or more in a main target area. Treat this as a pacing idea, not a fixed package. Ask for realistic transfer times and park access hours.
Discuss early starts, meal breaks, and charging options before travel. A private vehicle may offer more control over stops, but does not remove park rules. If travelling with non-photographers, agree on how long you want to wait at sightings.
What makes wildlife photography responsible?
The animal's welfare comes before the image. Do not bait, call, surround, chase, or block wildlife to create a scene. Keep noise low and follow the guide's directions.
Leave nests, dens, and young animals undisturbed. Avoid flash around wildlife and follow local restrictions. Ask for consent before photographing people, and accept a refusal without pressure.
Do not assume you can bring or fly a drone in a park. Check current requirements with the authorities before travel. Commercial shoots may need separate permissions. A normal safari booking is not proof of filming approval.
When posting, think before sharing precise locations of vulnerable species. Keep captions honest. Do not present an edited composite or AI-made scene as an unaltered wildlife encounter.
Why plan with TanzaLux Safaris?
Ask TanzaLux Safaris to build a route around your photographic priorities. Share your main subjects, experience level, kit size, and preferred pace. This helps shape useful camp and transfer choices.
Confirm vehicle layout, space per guest, charging, and the guide's role in writing. If you want camera tuition, ask whether a specialist photo guide is included. Wildlife guiding and technical photo instruction are not the same service.
Contact TanzaLux Safaris with your dates and budget. Ask for clear inclusions and a route with time to wait, observe, and practise these safari photography tips.
Frequently asked questions: safari photography tips
These 20 short answers cover common field problems and planning choices.
1. Which safari photography tips should a beginner learn first?
Learn to change shutter speed, select a focus point, and review sharpness. Practise before travel so these steps feel familiar when wildlife appears.
2. Do you need a professional camera?
No. Familiar gear and good timing matter. A phone can capture strong travel scenes, while a camera with a long lens helps with distant subjects.
3. Is 600mm always better than 300mm?
No. More reach adds framing options, but also weight and a narrower view. Large nearby animals may need a much shorter lens.
4. What shutter speed freezes running wildlife?
Try around 1/2000 second or faster as a starting point. Check the result and adjust for speed, direction, light, and the effect you want.
5. Why is a resting animal still blurred?
The camera may be moving, focus may be off, or hot air may distort the view. Support the camera and inspect a test frame.
6. Does image stabilisation freeze an animal?
No. It helps reduce camera shake. A moving subject still needs a suitable shutter speed unless you want deliberate motion blur.
7. Should you always use burst mode?
Use short bursts for action or changing expressions. Long bursts fill cards and create more sorting work. Quiet moments may need only a few frames.
8. Is high ISO a mistake?
No. It can help you keep a fast shutter in low light. Test your camera and judge the final image, not the ISO number alone.
9. How do you focus through grass?
Try a smaller focus area placed on the animal. If autofocus keeps choosing grass, use manual focus only if you can do so confidently.
10. What safari photography tips help at midday?
Look for shade, details, and bold shapes. Distant views may suffer from heat shimmer. Use the time to experiment rather than expect golden light.
11. Can you take strong photos on a cloudy day?
Yes. Soft light can suit portraits and fine detail. Watch shutter speed as light falls, and keep bright empty skies from dominating the frame.
12. Should you use flash on wildlife?
Avoid it and follow local rules. Work with available light and raise ISO if needed. A photo is not worth disturbing an animal.
13. Is a tripod useful in a safari vehicle?
Space can make it awkward. Ask about a safe support or beanbag instead. Never block access or attach gear without permission.
14. What safari photography tips help phone users most?
Clean the lens, steady the phone, and avoid extreme digital zoom. Frame a wider scene when the animal is too far away.
15. Can you leave the vehicle for a photo?
Only where your guide explicitly permits it. Never step out at a wildlife sighting simply to get a better angle.
16. How many memory cards should you bring?
Base capacity on your file size and shooting habits. Bring spare cards and test them first. Video and long bursts need more space.
17. Can you rely on cloud backups?
Not as your only plan. Internet access and speed can vary. Keep verified copies on separate storage when possible.
18. Should you edit wildlife photos?
Basic crop, tone, and colour adjustments can help. Keep original files and be honest about major changes, especially if sharing documentary work.
19. Is a migration crossing guaranteed on a photo safari?
No. Extra time in the right area may help, but wildlife does not follow a booking schedule. Build a wider list of subjects.
20. How can TanzaLux help plan a photo-focused trip?
Share your priorities and request suitable camps, vehicle arrangements, and a realistic pace. Confirm specialist tuition separately if you need it.
Ready to put these safari photography tips into practice?
Start with a simple kit and a clear plan. Watch the scene before pressing the shutter. Respect wildlife, back up your files, and leave time to enjoy Tanzania without a camera in front of your face.
.jpg?alt=media&token=95a5caed-fa4c-47ac-a42e-c42ac61e6b69)
Ready to start planning?
Tell us your dates and what you're after — no obligation.