5.0 Excellent

Five Simple Tips to Improve Your Safari Photographs
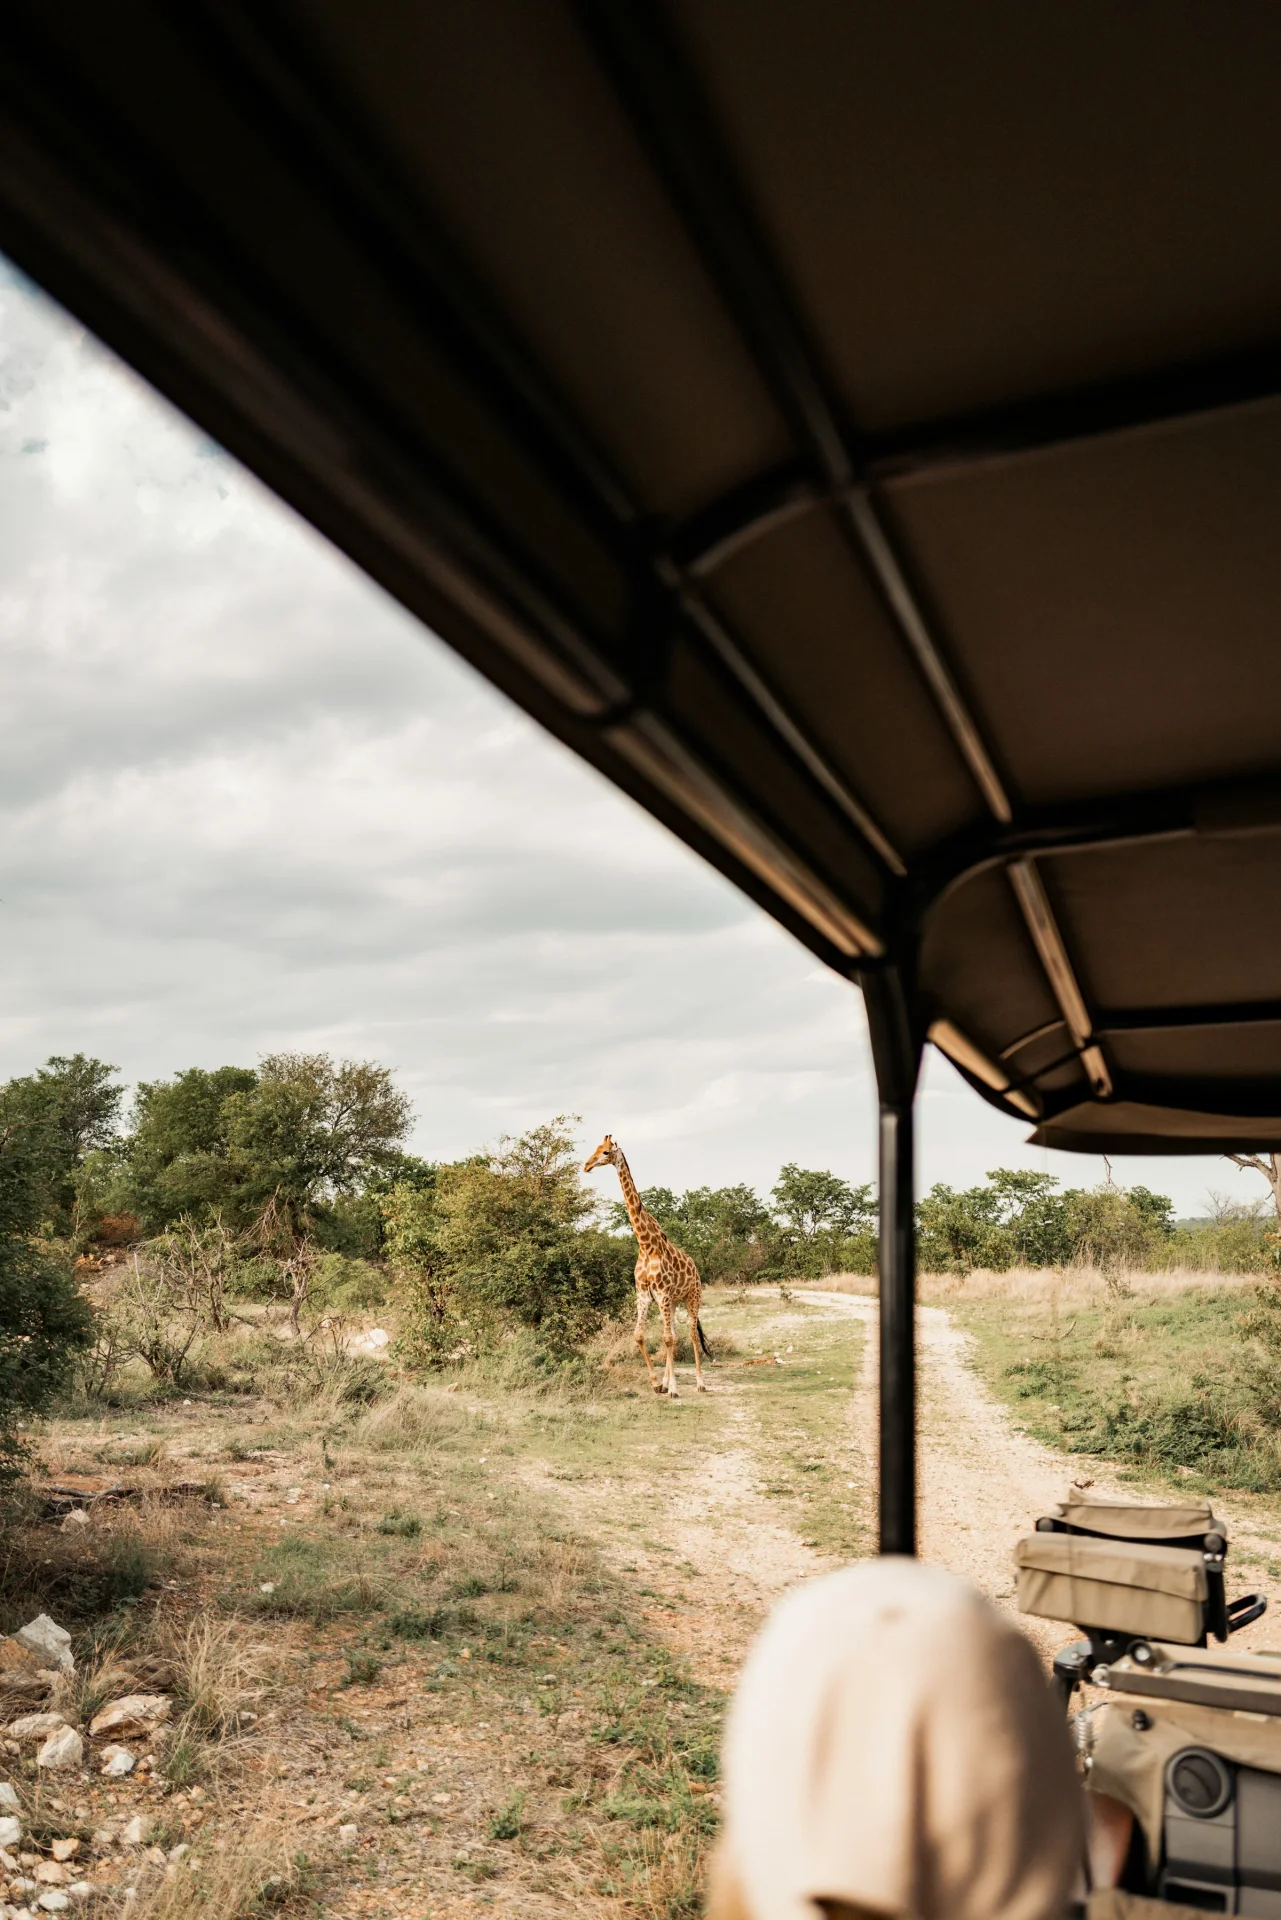
Better safari photographs start with a few clear habits. Look at the light, keep the subject sharp, check the frame, wait for a moment, and prepare your kit. You can use these habits with a phone, a compact camera, or a larger camera with a zoom lens.
A Tanzania safari brings changing light, dust, long views, and animals that rarely pose on cue. You may have seconds to react, then an hour to watch a quiet herd. The goal is to feel ready in both situations. You do not need to learn every menu before you can make a good image.
These safari photography tips explain five steps you can practise before you fly. You will also find a quick settings guide, a daily routine, sample packages, and answers to common questions. Use the suggested settings as starting points, then check the results on your own camera.
Plan a Tanzania safari with TanzaLux and make time for the photos you want to take.
1. Use the light to improve your safari photographs
Before you lift the camera, look at where the light comes from. Early and late light is often softer and warmer than midday sun. Clouds can also soften harsh shadows. Good light can make a familiar animal look striking without a rare sighting or a new lens.
Discuss early starts with your planner and guide. Lodge location, breakfast, park hours, and driving time all matter. Being awake at dawn does not help much if the first hour is spent travelling to the wildlife area.
Choose the effect you want
Light from behind you can show the face and coat clearly. Light from the side can bring out shape and texture. Light from behind the animal can make a rim or a silhouette. Each can work; they simply tell a different story.
For example, you might choose a clear elephant portrait in soft front light. Later, the same herd may suit a wider frame against a bright sky. Let the scene guide the choice rather than treating one direction of light as the only correct option.
Canon's bird photography guidance discusses the appeal of early and late light. On a game drive, your guide must still choose a safe and legal stopping point. Light is a reason to plan well, never a reason to crowd an animal.
Check bright and dark areas
Take a test frame when the light changes. Can you see detail in pale fur and bright clouds? Is the face too dark? Use your camera's preview, highlight warning, or histogram if available. A histogram is a graph of the tones in the image.
Exposure compensation lets you ask many cameras for a brighter or darker result in automatic exposure modes. Try a small change and check again. Its behaviour depends on your mode and settings, so practise before the trip.
When reviewing safari photographs, do not judge brightness only by the screen in strong sun. Shade the screen if you can do so from your seat. Keep the original scene in mind: a dark silhouette need not be turned into a bright portrait.
2. Keep safari photographs sharp with the right speed and focus
Sharpness depends on more than a steady hand. The animal may move, the vehicle may shake, or the focus may land on grass. Check each cause in turn. A fast shutter helps freeze movement, while accurate focus puts detail where you want it.
For a moving subject, try your camera's continuous focus mode. It may be called AF-C or Servo AF. Use animal or eye detection if your model supports the subject, but watch where the focus box goes. If it chooses the wrong target, switch to a smaller area you can place yourself.
Fujifilm's wildlife guide explains how continuous focus, shutter speed, and image stabilisation help with changing scenes. Names and controls vary between brands. Your own camera manual is the best guide to its buttons.
Match shutter speed to the action
For a calm large animal, try around 1/500 second as an initial check. For a walking animal, start near 1/1000. For fast action or birds in flight, try 1/2000 or faster when light allows. These are practice starting points, not fixed rules or a promise of sharp results.
A resting lion and a small bird taking off need different choices. Lens length, subject speed, distance, and your own movement all affect the result. Look closely at a test image, then raise the speed if motion is still blurred.
Nikon's birds-in-flight feature highlights fast shutter speeds, tracking, and patience. If light is low, a higher ISO can help maintain a chosen shutter speed, with more visible noise as a trade-off.
Support the camera without crowding the vehicle
Keep your elbows close and use a safe support where your guide permits it. A bean bag can suit some vehicle rails. Do not rest the lens on a surface that shakes, and keep gear clear of the driver's controls.
Ask before an engine-off pause; the guide decides whether it is suitable. Tell fellow guests when you are taking a frame so they can pause their movement. Image stabilisation helps reduce camera shake, but it does not freeze a moving animal.
At a safe pause, enlarge one of your safari photographs and inspect the eye. If nearby grass is sharp but the face is soft, focus may be the issue. If the whole frame looks smeared, check camera movement and shutter speed.
3. Make safari photographs stronger with a clear frame
A good frame makes it easy to see what matters. Before you press the shutter, scan the edges and the background. Look for cut-off feet, a branch across the face, a tilted horizon, or another vehicle pulling attention away from the animal.
Use the zoom to tidy the frame when you can. Leave room in the direction an animal is looking or moving. If the whole body matters, include the feet and tail. If you want a close portrait, make the crop feel deliberate.
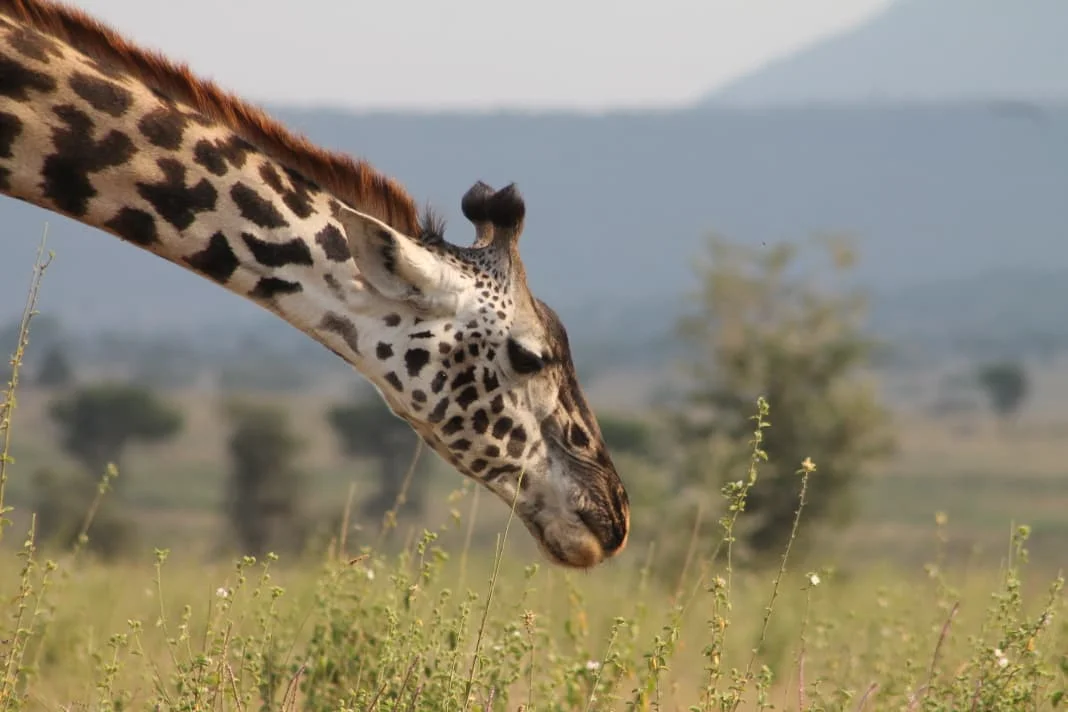
A close view can highlight shape, coat patterns, and posture. Use your lens to frame details from a respectful distance.
Take a wide, medium, and close view
At one calm sighting, try three different frames. First, show the animal in its setting. Next, show its shape and posture. Finally, look for a detail that your lens can reach from a respectful distance.
Wide: a herd beneath a broad sky or near a tree.
Medium: two animals together, with room around them.
Close: a face, horn, feather, or coat pattern.
This small sequence gives your safari photographs variety. You do not need to fill every frame with an animal's head. A small subject in a large landscape can show the sense of space that makes Tanzania so memorable.
Canon's photo safari article shows ways that backgrounds, wider views, and details can shape a wildlife story. Treat composition guides as tools to try, rather than rules that every photo must obey.
Work from the position you are allowed to use
Do not leave the vehicle to gain a low angle on a game drive. Do not lean out or ask the guide to drive off a permitted route for the frame. Change your zoom, wait for the animal to move, or accept a different image.
If the view is blocked, take time to watch. You may see a better moment later. A missed frame is easier to live with than a disturbed animal or an unsafe move.
4. Wait for behaviour to bring safari photographs to life
Take a simple record shot first, then lower the camera for a moment and watch. Look for feeding, grooming, a change in posture, or an interaction within the group. Ask your guide what is happening without assuming that an animal will perform on cue.
A photo of a giraffe standing still can be lovely. A gentle turn of the head or a calf stepping beside it may add more meaning. You often gain more by waiting at a calm sighting than by rushing to the next one.
Be ready before the moment
Check the exposure and focus while the animal is still calm. Keep both hands on the camera when action seems likely. Use a short burst if it helps catch a changing pose, then ease off so the camera can finish writing files.
Do not spend a whole encounter looking at your screen. Review at a pause and return to the scene. If a moment passes, stay calm. It is part of wildlife photography, and the next frame may tell a different story.
Let care for wildlife shape the photo
Never call, feed, chase, or provoke an animal for a reaction. Avoid blocking routes to water or splitting a group with the vehicle. Follow your guide's instructions when an animal approaches or the scene becomes crowded.
TANAPA's Tarangire visitor guide sets out track, wildlife, and safety rules. Other parks have their own requirements. If a photo request conflicts with the rules, change the photo plan.
Keep captions honest too. Do not label a calm yawn as an attack or invent a rescue story from a single frame. Good safari photographs can be powerful without adding events that did not happen.
5. Prepare, review, and repeat a simple photo routine
Know how to change focus mode, shutter speed, and exposure before departure. Practise on birds in a local park or a moving subject at home. Learn how to return to a familiar setup after trying something new.
You will improve safari photographs faster by solving one problem at a time. If a frame is blurred, check speed and focus before changing every setting. If it is cluttered, work on the frame. If it feels flat, look again at light and timing.
Use a short morning checklist
Charge batteries and pack a spare where it is easy to reach.
Check free card space and carry spare cards in a small case.
Clean the front glass with suitable tools, following the maker's advice.
Set a familiar focus mode and check yesterday's exposure changes.
Keep a dust cover or bag ready without burying the camera.
Pack water, sun protection, and a comfortable strap.
Keep lens changes to a minimum when dust is blowing. Ask about safe storage and charging at each camp. Power arrangements vary, and a charging socket in the vehicle should not be assumed.
Review a small set each evening
Choose a handful of safari photographs to inspect. Find one success and one thing to change tomorrow. A simple note such as “faster speed for walking birds” is more useful than judging the whole day as good or bad.
Make a second copy of important files where your equipment allows. Check that the copy opens before you reuse a card. Do not erase the original set simply because a transfer seemed to start. Cloud backup may be slow where internet access is limited.
A quick guide to camera settings for safari
Start with a setup you understand. Shutter-priority mode can give direct control over movement while the camera chooses an aperture. Manual exposure with Auto ISO is another option on cameras that support it. Watch the camera's limits and check the image rather than trusting a mode name.
Shutter speed: choose for movement and camera shake.
Aperture: choose how much depth you need in focus.
ISO: balance the light needed for your settings against image noise.
Focus: keep the point or tracking box on the intended subject.
File type: choose RAW if you can edit and store it; JPEG can suit a simpler workflow.
For a group of animals at different distances, a smaller aperture may help keep more of them sharp. It also lets in less light. Adjust the other settings as needed. No single setting works for all safari photographs.
Can you take good smartphone safari photos?
Yes. A phone can work well for landscapes, wide herd views, and the story around your journey. Distant small animals are harder. Avoid making digital zoom your only plan; choose a wider scene when the subject is beyond the phone's useful reach.
Clean the lens, hold the phone steadily, and tap to place focus where your model allows. Check brightness in the preview. Learn the phone's burst or action controls at home, since they vary by model.
The Natural History Museum's phone photography guide offers a useful start. Keep the same wildlife distance and vehicle rules when using a phone. A short lens is never a reason to move closer than your guide allows.
Plan a Tanzania photography safari around time and place
A slower route gives you room to apply these ideas. Ask where the camp sits, how long the drives take, and which parts of the day can be spent watching wildlife. More park names do not always mean better safari photographs.
Discuss the interests of everyone in your party. One guest may want long waits for birds while another prefers varied sightings. Agree on a pace before booking. A private vehicle can help you shape that balance within park hours and the planned route.
Explore TanzaLux private safari options and build a route with time to pause.
Sample safari packages for guests who love taking photos
These are sample routes to tailor, not fixed departures or guaranteed wildlife experiences. Camps, fees, flights, activities, and prices need confirmation in your proposal. Ask for daily drive times as well as the number of nights.
5-day Arusha and Tarangire Photo Discovery
Day 1: Arrive in Arusha and settle in.
Day 2: Explore Arusha National Park on a guided drive; return to Arusha.
Day 3: Transfer to Tarangire for wildlife viewing and an overnight stay.
Day 4: Enjoy another Tarangire day with time to revisit photo ideas.
Day 5: Return to Arusha for an onward stay or a suitably timed departure.
This is a useful first route for practising light, framing, and patience. Add a final Arusha night if flight timing makes the return rushed. Any walks require separate arrangements.
Tailor this five-day Arusha and Tarangire safari with the TanzaLux team.
8-day Northern Circuit Wildlife Photography Safari
Day 1: Arrive in Arusha.
Day 2: Drive to Tarangire for game viewing and an overnight stay.
Day 3: Enjoy another Tarangire drive, then continue to Karatu.
Day 4: Travel to a central Serengeti base.
Days 5–6: Explore Serengeti from the same camp.
Day 7: Return towards the Ngorongoro highlands for the night.
Day 8: Take a planned crater drive, then return to Arusha for an overnight stay.
Plan departure for the next day. Repeated drives from one Serengeti base can help you try new light and framing. Transfers are long, so ask about more nights or suitable flight options if you prefer less road time.
Design an eight-day Northern Circuit trip with time for your safari photographs.
12-day Safari and Zanzibar Photo Journey
Day 1: Arrive in Arusha.
Days 2–3: Stay in or near Tarangire for game drives.
Day 4: Transfer to the Ngorongoro highlands.
Day 5: Enjoy a crater outing, with another highlands night.
Day 6: Travel to Serengeti and settle into camp.
Days 7–8: Explore from a base suited to your season and interests.
Day 9: Take a confirmed flight connection to Zanzibar.
Days 10–11: Relax at the coast, with optional guided outings.
Day 12: Transfer for departure.
Confirm flight stops, luggage limits, and safe packing for camera gear. Ask permission before taking close photos of people on Zanzibar. A private safari vehicle does not make flights or optional boat trips private.
Combine a Tanzania wildlife safari with Zanzibar and create a varied travel photo story.
Why travel with TanzaLux Safaris?
TanzaLux Safaris is Tanzanian-owned and based in Arusha. Its team tailors routes to your dates, interests, pace, comfort, and budget. Tell your planner that safari photographs are a priority so that the route allows time for them.
A private road safari gives your party its own guide and vehicle. Discuss long stops, early starts, and space for camera bags before booking. These requests still depend on safety, park rules, and the day's route.
A wildlife guide is not automatically a photography tutor. If you want lessons or specialist photo guiding, ask the team to check the service, availability, and cost. Also confirm vehicle seating, charging, and any camera supports you hope to use.
Clear planning gives you more time to enjoy the scene. Share your wish list, accept that wildlife is unpredictable, and practise the five habits in this guide. Better safari photographs often follow from paying closer attention to the trip itself.
Tell TanzaLux about your photo interests and request a personal safari proposal.
Frequently asked questions
1. What is the quickest way to improve safari photographs?
Start with light, sharpness, and a clear frame. Take one test image and inspect it. Choose one problem to fix rather than changing every setting at once. Practise with your own camera before departure.
2. Do I need an expensive camera for safari?
No. Familiar controls and good habits matter. A camera with a useful zoom gives more options for distant wildlife, while a phone can record wider scenes. Choose equipment you can carry and use with ease.
3. What lens should I bring?
A telephoto zoom helps with distant animals, and a shorter lens helps with landscapes. The useful range depends on your camera, route, and interests. Practise with any hired kit before travelling and check its weight.
4. What shutter speed should I use for safari photographs?
Try about 1/500 for a calm large animal, 1/1000 for walking, and 1/2000 or faster for quick action. These are starting points. Check sharpness and adjust for movement, lens length, light, and support.
5. Should I use continuous autofocus?
It is useful when the subject moves towards or away from you. Check that tracking stays on the animal. For a still subject, a well placed focus point can also work. Learn your model's options before the trip.
6. Should I always focus on the eye?
For a face-led portrait, a sharp visible eye is usually a good goal. For a wider scene, you may want a different focus plan. Check that grass or branches have not pulled focus away from your chosen subject.
7. What ISO is best on safari?
There is no single best value. Use enough ISO to support the shutter speed and aperture the scene needs. Higher ISO can increase visible noise. A clean but blurred frame may be less useful than a sharp, noisier one.
8. Does image stabilisation stop animal movement?
No. It helps reduce the effect of camera shake. A moving subject can still blur at a slow shutter speed. Match speed to the action and check the result rather than relying on stabilisation alone.
9. When is the best light for safari photographs?
Early and late light is often soft and warm. Cloud can make light gentle too. Midday is still useful for some scenes. Work with the light you have and plan starts within park rules and travel time.
10. Can I take good pictures at midday?
Yes. Look for a scene that works with stronger light, shade, or bold shapes. Watch bright areas and deep shadows. You can also use a quiet pause to rest and prepare for a later drive.
11. Should I shoot RAW or JPEG?
RAW gives more scope for later editing, but needs suitable software and more storage. JPEG can suit simple sharing and a lighter workflow. Choose a format you understand, and confirm that you can open and back up the files.
12. How can I avoid dusty camera gear?
Keep a cover or closed bag ready and limit lens changes in dust. Follow the maker's cleaning advice. Do not wipe grit across the glass. Ask about storage and keep spare cards and batteries in a case.
13. Is a tripod useful in a safari vehicle?
Space and vehicle design may make one awkward. A safe support or bean bag can be more practical in some vehicles. Discuss options in advance, and keep all equipment clear of the driver and other guests.
14. Can I take safari photographs with my phone?
Yes, especially wide landscapes and nearby scenes viewed from a permitted position. Distant wildlife may look small. Use the phone's strengths, keep it steady, and never approach wildlife to make up for limited zoom.
15. Is digital zoom the same as optical zoom?
No. Optical zoom changes the view through the lens. Digital zoom often crops or processes the image and can lose detail, though results vary by device. Compare a normal frame and a zoomed one on your own phone.
16. May I leave the vehicle for a better angle?
Only leave where it is permitted and under the relevant instructions. Do not step out during a wildlife encounter for a photo. Adjust your frame from a safe position or enjoy the view without taking the shot.
17. Can I use a drone for wildlife images?
Do not assume drone use is allowed. Tarangire's visitor guidance requires prior written permission. Check the rules for every location and any other approvals that apply before travelling with or using a drone.
18. How many photos should I take each day?
There is no target number. Short bursts can help with a changing moment, but leave time to watch. Review a small selection later, back up important files, and keep enough free space for the next day.
19. Are the sample safari packages photography courses?
No. They are route ideas for guests who enjoy taking photos. Specialist tuition, equipment, and a photo guide are not assumed inclusions. Ask TanzaLux to confirm any service you need in your written proposal.
20. How can TanzaLux help me improve my safari photographs?
Share your interests so the team can plan a suitable pace and route. Ask about longer stays and a private vehicle for your party. Technique still takes practice, and wildlife, weather, and light remain beyond anyone's control.
Ready to start planning?
Tell us your dates and what you're after — no obligation.